Putting it Together
In this final step, we’re going to configure and run a Node.js application that ties Watson Discovery, Wastson Assistant, and Cloud Functions together in a web-based chatbot application.
The application code is provided in the repo and in this step we’ll just be changing the configuration to talk with our Watson Assistant instance.
Get the IBM Cloud services credentials and add to .env file
First, navigate to _discovery/app in the repo.
Next, copy the local env.sample file and rename it .env:
cp env.sample .env
Now update the .env file with the credentials from your Watson Assistant service.
# Copy this file to .env and replace the credentials with
# your own before starting the app.

# Watson Assistant
ASSISTANT_SKILL_ID=<add_assistant_skill_id>
ASSISTANT_IAM_APIKEY=<add_assistant_iam_apikey>

# Run locally on a non-default port (default is 3000)
# PORT=3000
The apikey credential can be found by clicking the Service Credentials tab, then the View Credentials option from the panel of your created Watson Assistant service.
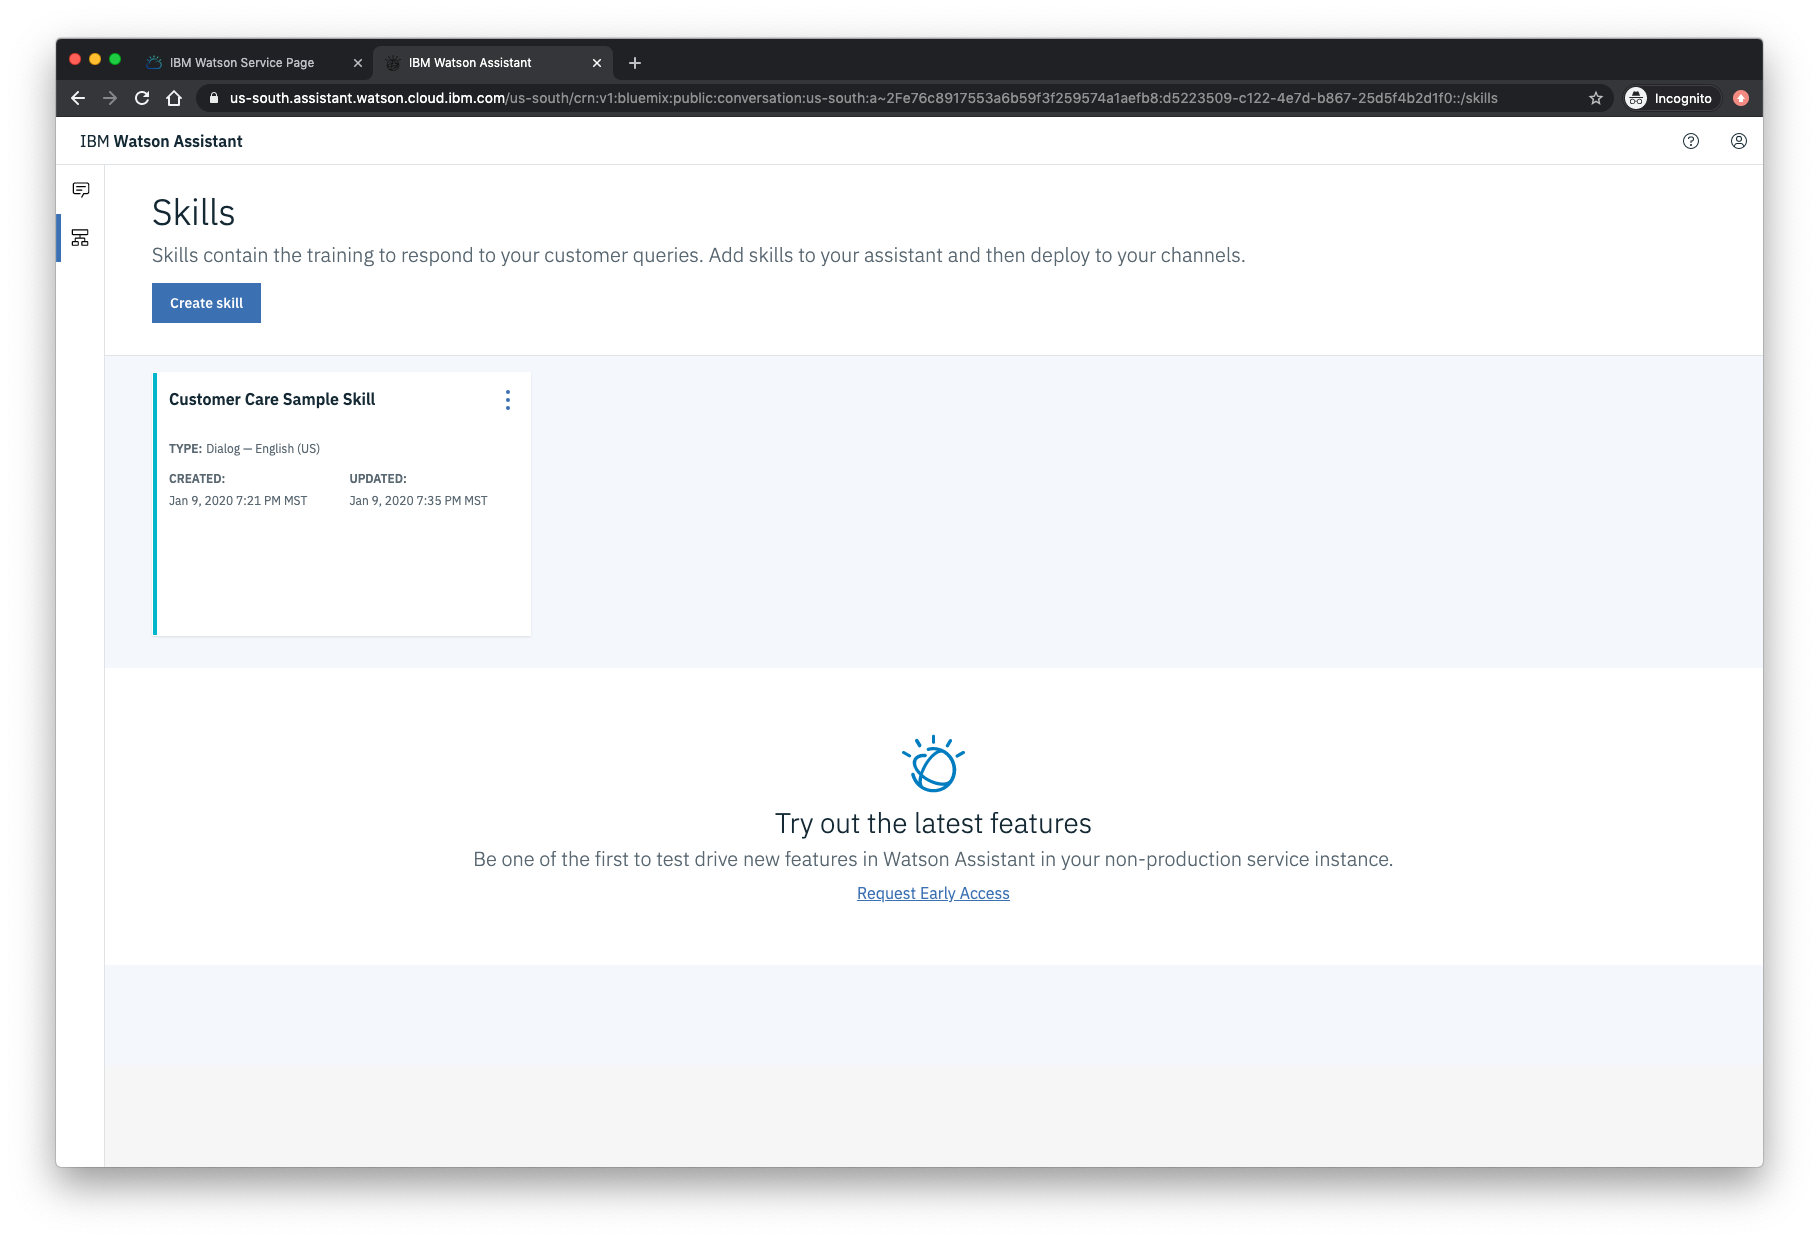
An additional ASSISTANT_SKILL_ID value is required to access the Watson Assistant service. To get this value, select the Manage tab, then the Launch tool button from the panel of your Watson Assistance service. From the service instance panel, select your Assistant to display the assigned skills. For this code pattern, we used the dialog skill named Customer Care Sample Skill that comes with the service:

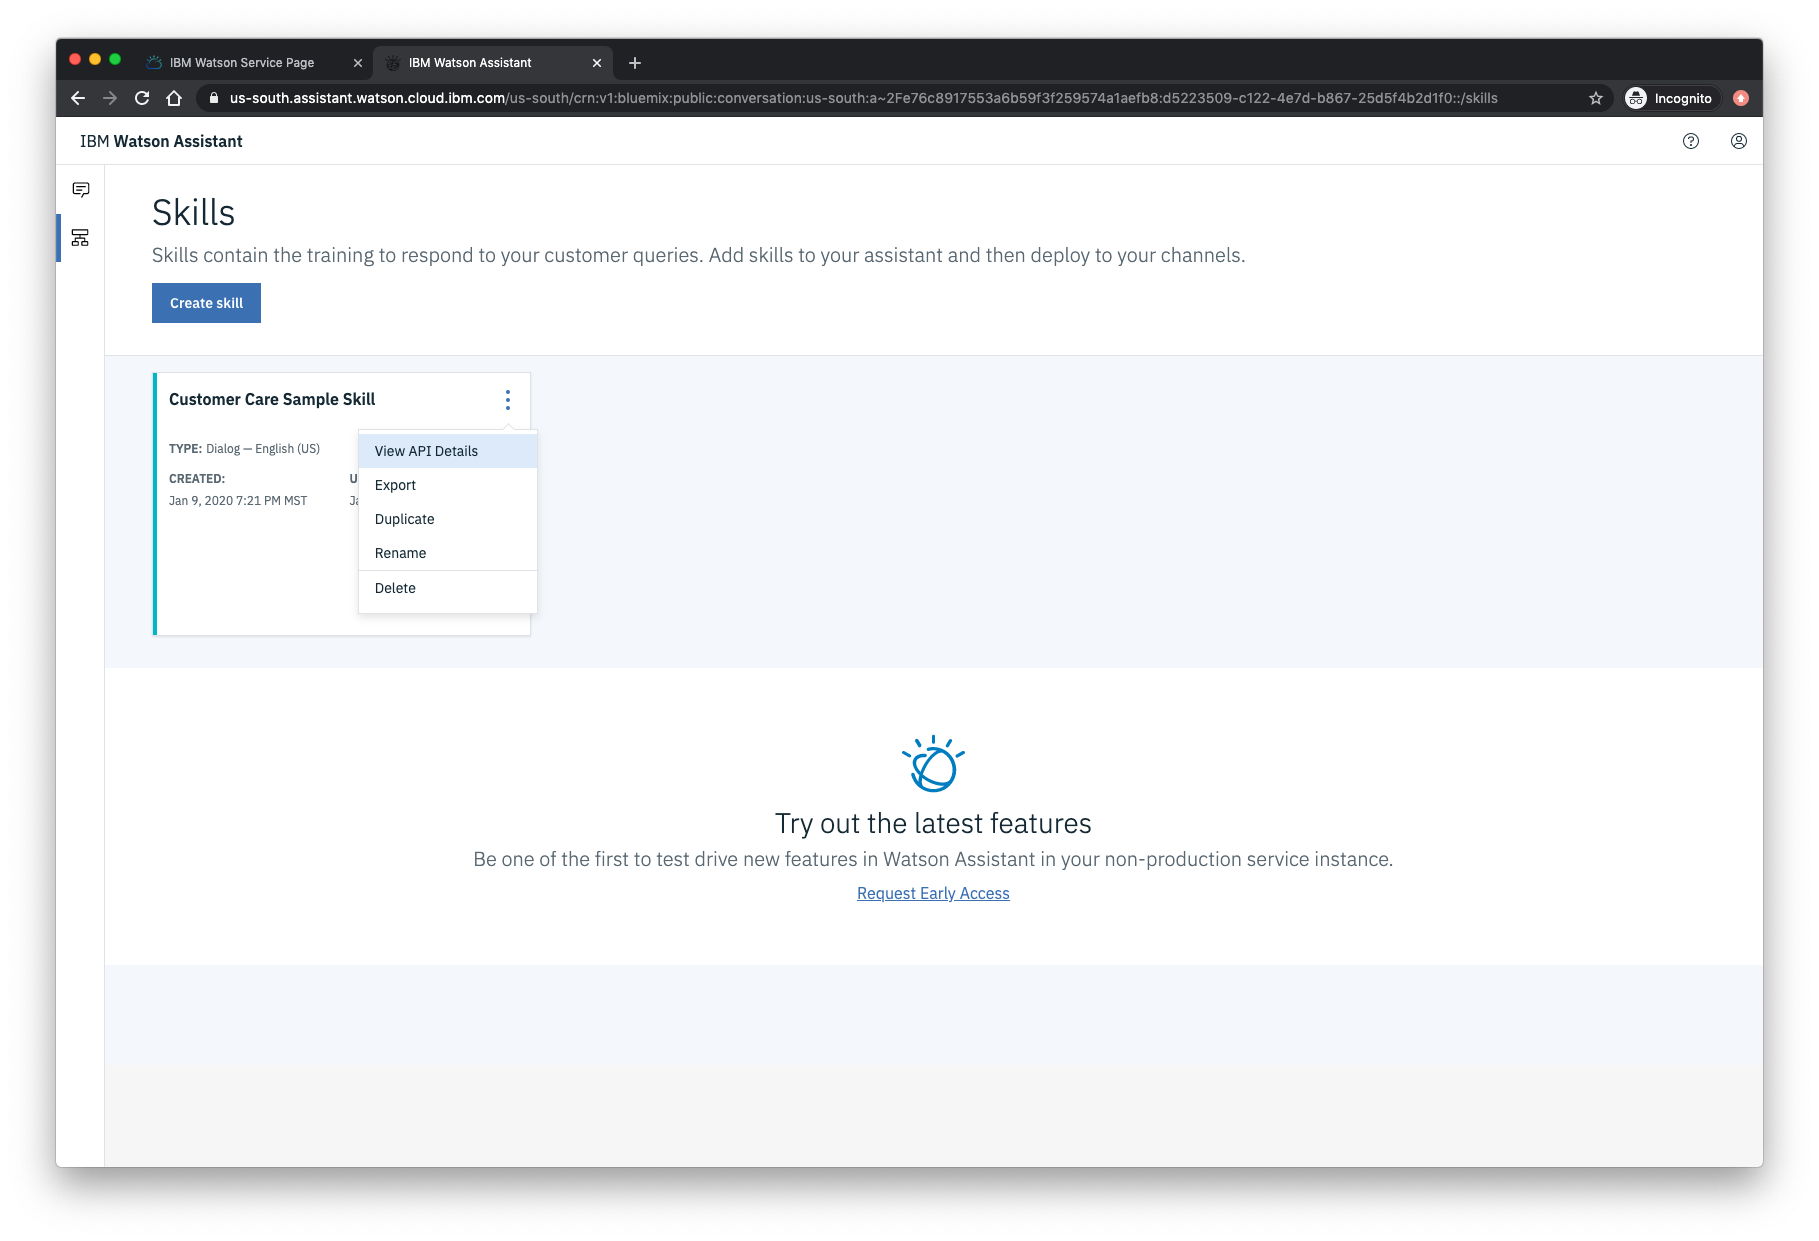
Select View API Details from the menu:

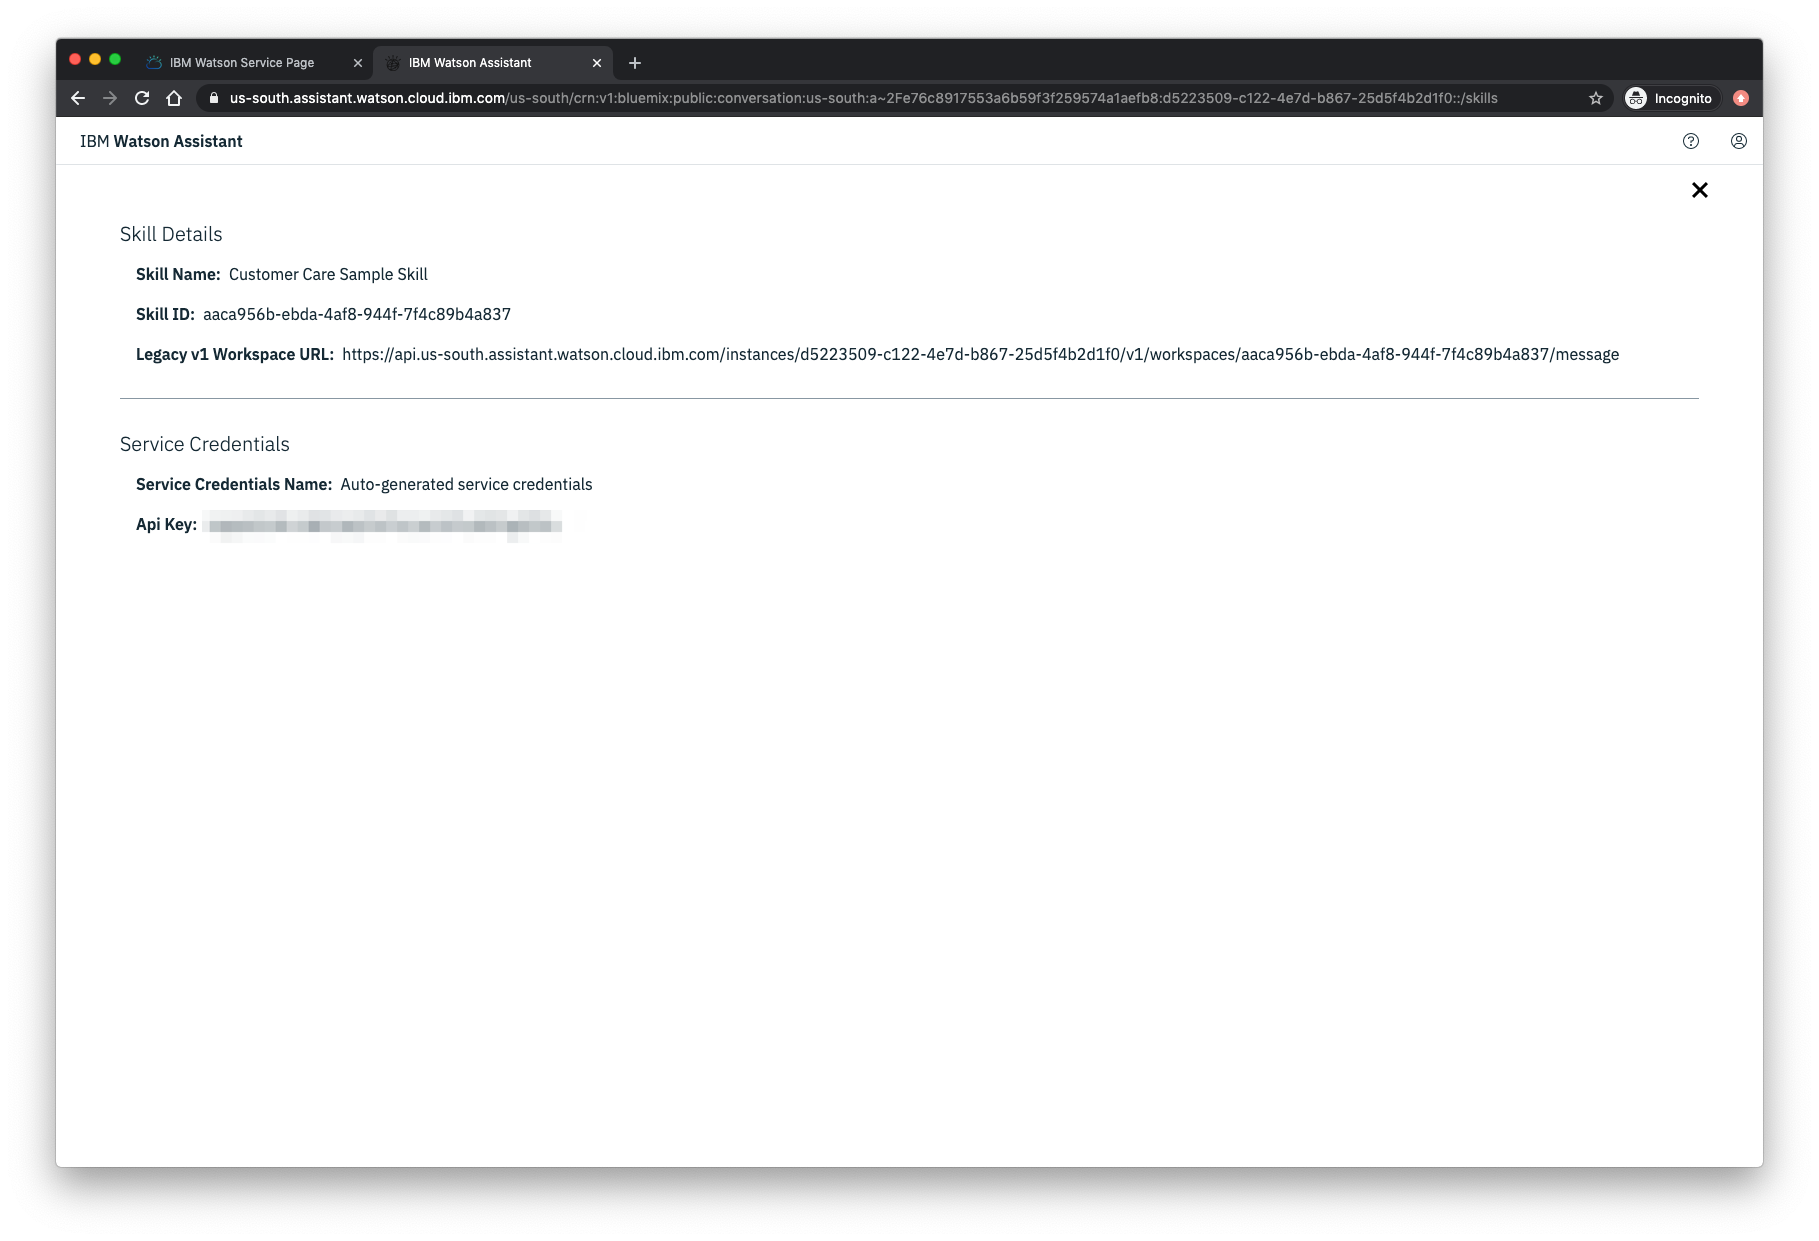
On the following screen you’ll find the Skill ID value:

Run the application
npm install
npm start
Access the UI by pointing your browser at localhost:3000.
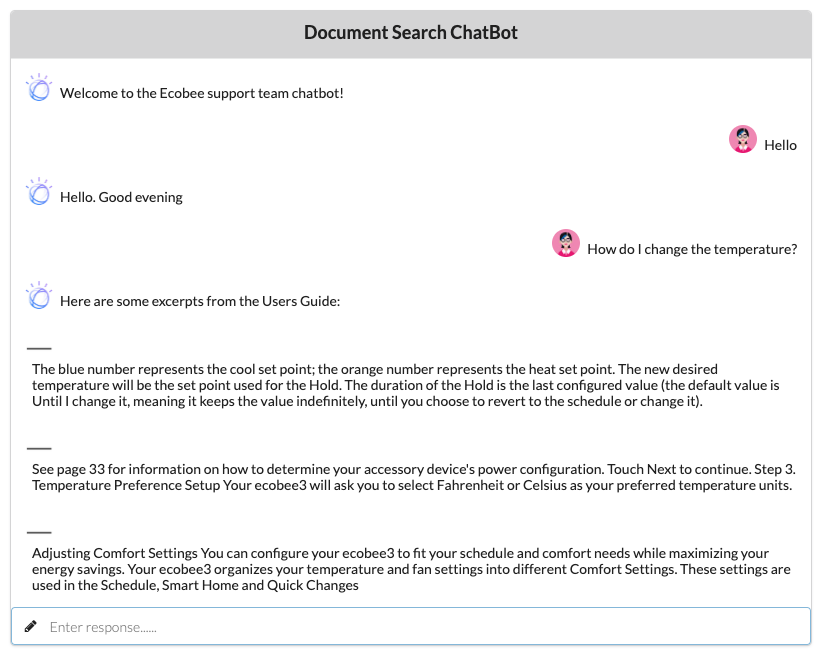
Then try entering some of these sample questions and examine the results:
- How do I set a schedule?
- How do I set the temperature?
- How do I set the time?
Sample application output
